
Mystery Knit-Along 2024: Week 3
- Barbara Prime

- Mar 16, 2024
- 3 min read
How did everyone do with the ribbed pullover from last week? I know this was a more demanding knit than my usual designs, so I hope you did well! These events are a good time to try out more challenging techniques, because I can offer more pattern support here and through social media. Personally, I like to choose new knitting projects that will teach me something, so I can continue to grow and progress in this craft. These knit-along events are my opportunity to offer the same to you.
Onto clue 3 of the mystery! This week we're knitting the legs and body of the toy. Honestly, there was no easy way to break up the parts of the toy to keep the mystery going until the end. This division was the best I could manage, and I know many of you will guess the creature after seeing what you're going to make! Let me know what you think, and if there's some fun options, maybe I'll put up a poll before we get to the final clue.

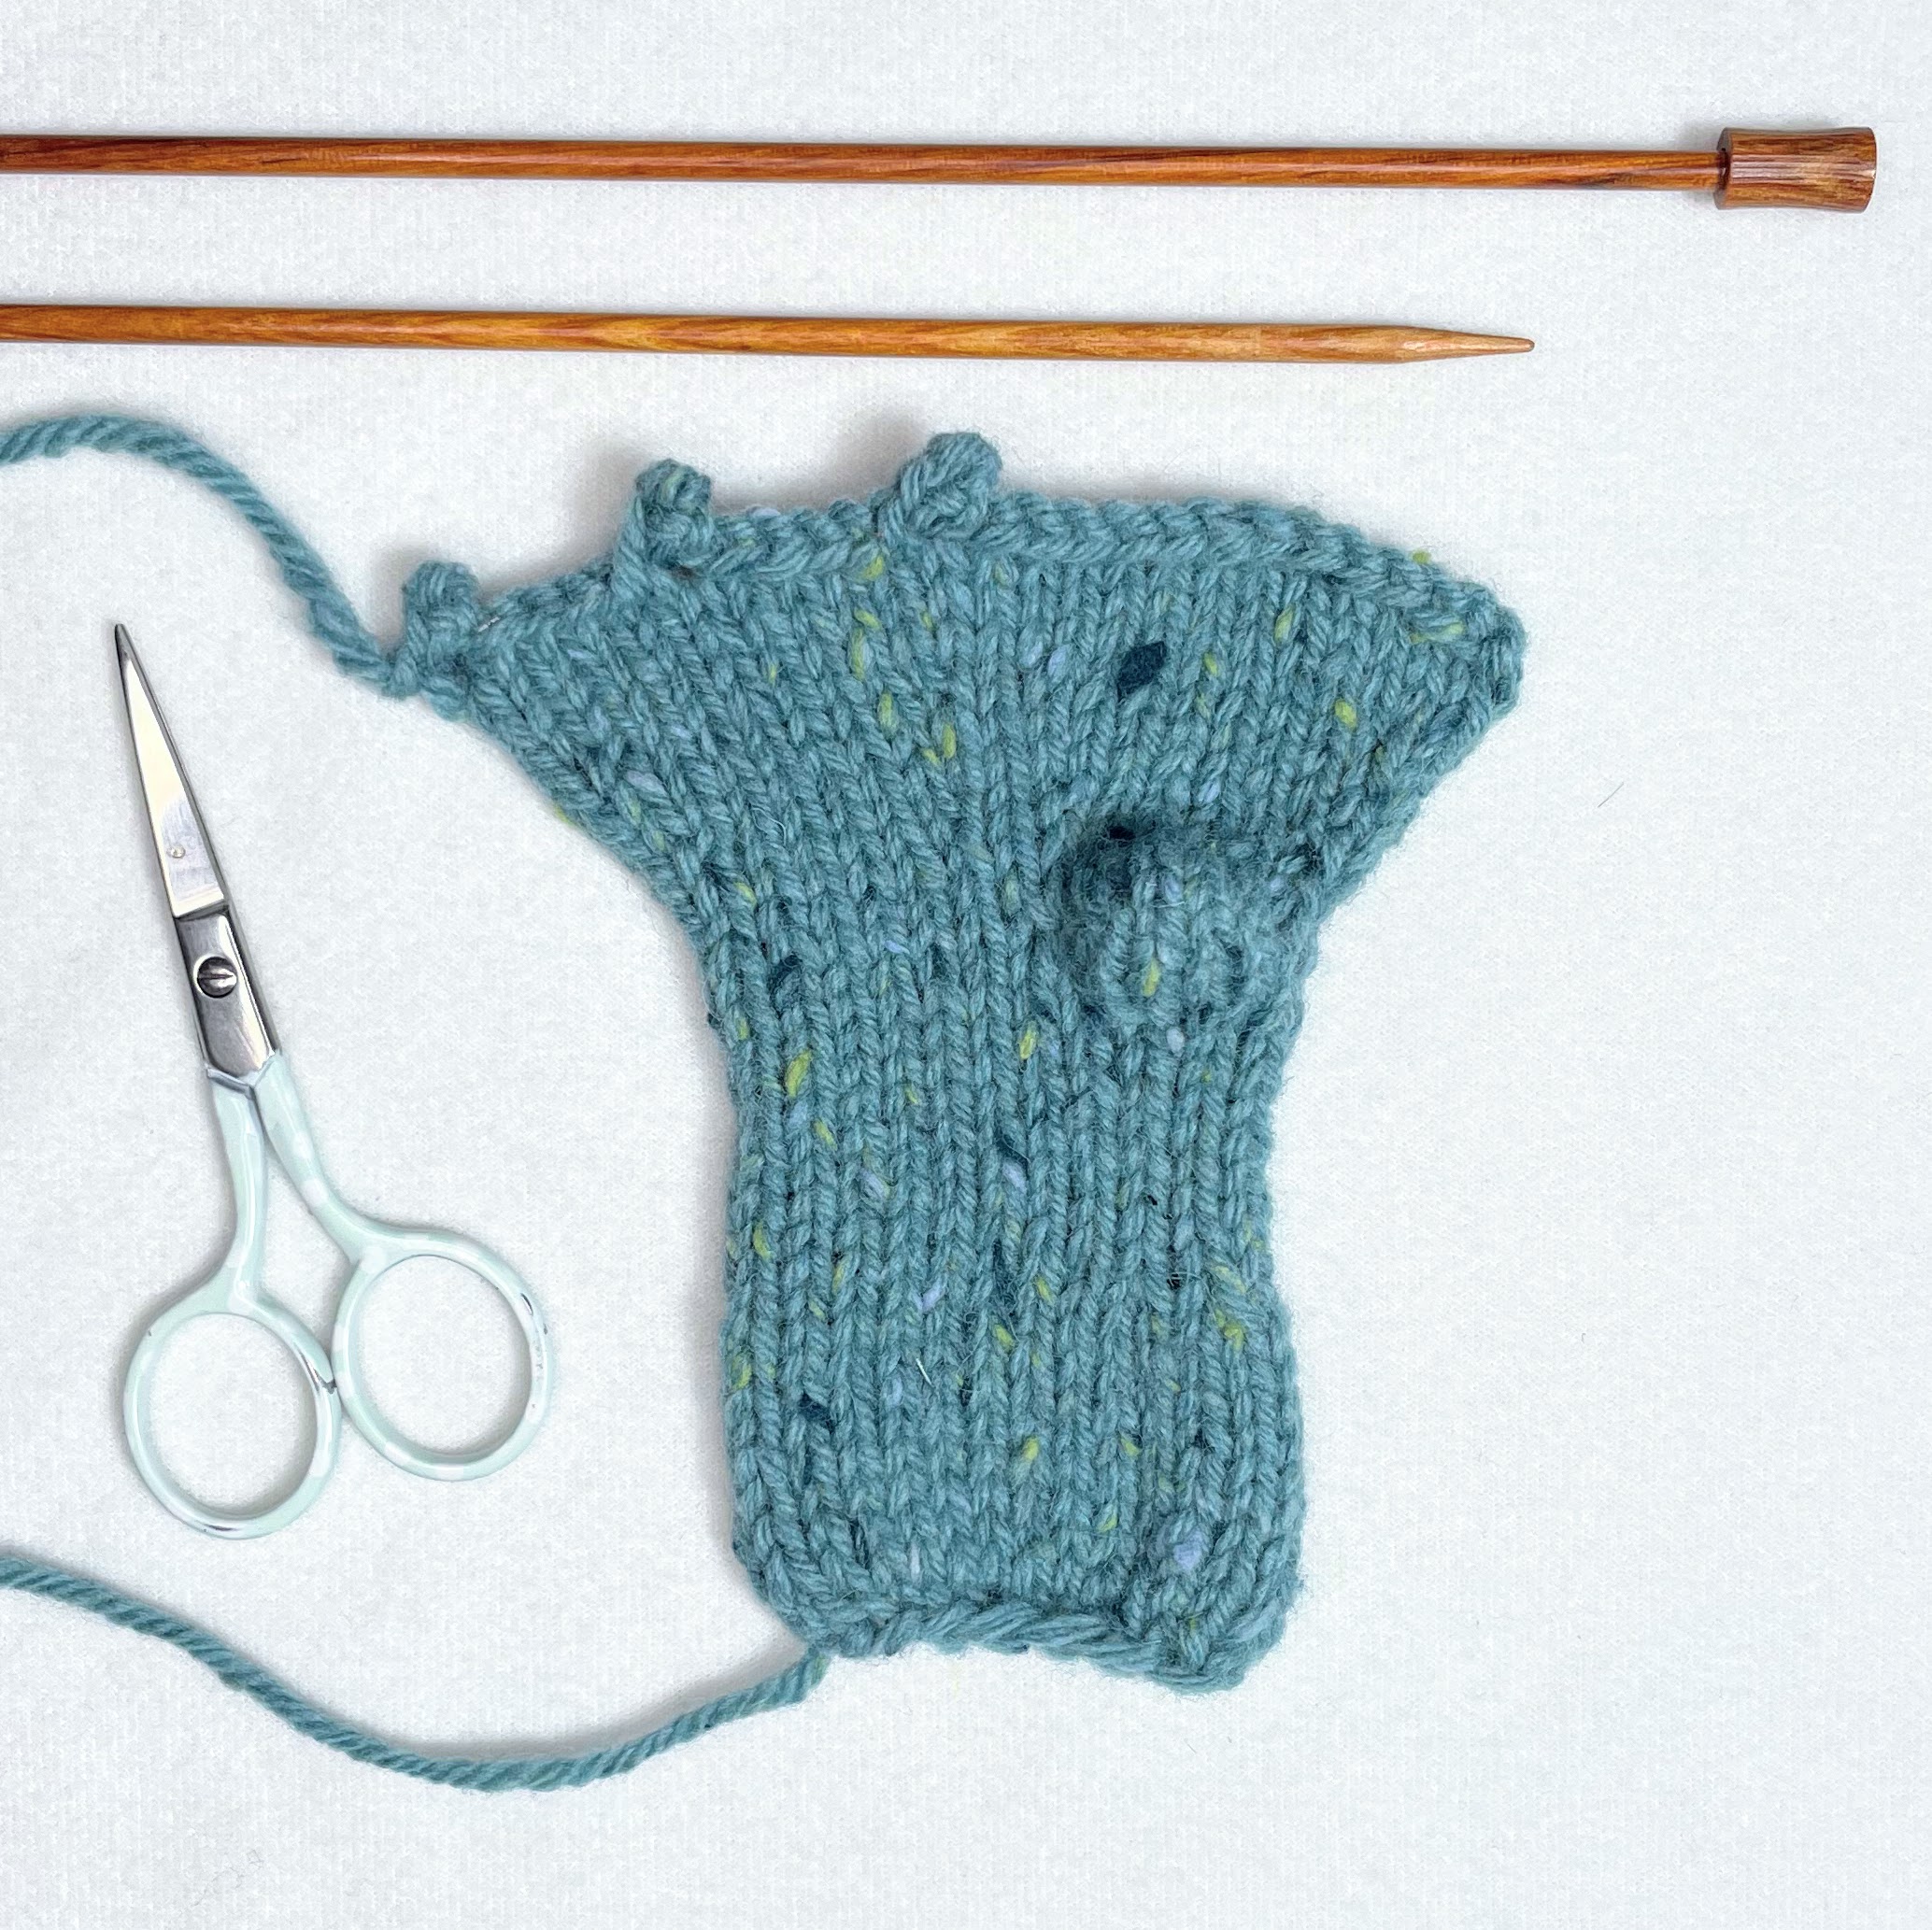
The supplies: 50 g of tweedy teal wool yarn and a pair of 4 mm knitting needles. This yarn is on the heavier side for worsted weight, so my toy is going to end up a little bigger; but, I loved the colour so much I decided to try it anyway. It's the reason I chose a sport weight yarn for the pullover, so I could be sure it would fit my chubby toy.

In this photo, I've knit the Right Leg from the hip to just before the heel. The yarn is looking so good!

Here you can see the short-row heel, which allows the foot to be knit at a right angle to the leg. I know this section is more challenging, and a bit fussy, but it was the best way I could find to get the correct shape. Whether you're experienced at this technique, or learning something new, I think you'll be pleased with how this creature's legs turn out!
This is how the Right Leg looks when you've finished the knitting part. A picot bind-off makes the toes, which is a fun technique, and one I haven't used on a toy before. If you need a little help with it, this is the tutorial I used to refresh my memory.

Before sewing the seams, the leg needs to be folded lengthwise. This is how the Right Leg looks from the top/front.

And this is how the Right Leg looks from the bottom/back.

Here I'm showing you how I sewed the end of the foot together. This tutorial shows a clearer image of this seaming technique (scroll down to Seam Type 2). At the toes, I made a stitch through the back/underside of the picot bump, so the toe would stick out from the end of the foot.

With a little careful sewing, the end of the foot is neat, and so cute with those little toes!

Sewing down the leg seam, adding stuffing as I go.

Sewing along the side of the foot. You need to add stuffing to the heel, so it sticks out a bit. This will improve the foot shape, and the toy might even stand by itself!

To hold the stuffing in the leg, and help hold the two layers of the foot together, you can stitch across the top of the foot next to the ankle. If you sew between the columns of knit stitches, using your toy yarn, the seam will be nearly invisible.

One leg finished, one to go! I steam blocked the foot, pressing firmly with my hand to flatten it. You could also keep the flat shape by adding more stitches to hold the two layers together.

Here is the Left Leg, a mirror image of the Right. (I find the picot bind-off is a little neater from this direction).

Two finished legs! How cute are those flipper feet?

Next up: the toy's body! This piece is really straightforward, a slight variation on my usual toy body. A relaxing knit after those tricky legs.

All done the knitting on the body, I just need to gather those last stitches together and sew the back seam.

Do I go on about mattress stitch a lot? Probably, but look how nice this seam is.

One chubby body, and two legs with flipper feet. Who could they belong to?


Comments